Fabrication Of Obturator Introduction
Maxillofacial prosthodontics is the branch of prosthodontics that deals with the replacement of missing oral and extraoral tissues due to trauma, surgical intervention, pathology, or congenital malformation.
Table of Contents
Fabrication Of Obturator Objectives
- Restoration of function
- Restoration of esthetic or appearance
- Tissue protection
- Psychologically beneficial
- Improvement in quality of life.
Read and Learn More: Preclinical Prosthodontics Notes
Fabrication Of Obturator Types
- Obturator
- Nasal prosthesis
- Ear prosthesis
- Eye prosthesis
- Orbital prosthesis
- Auricular prosthesis
- Facial prosthesis
- Mandibular resection prosthesis.
Obturator
The obturator is a prosthesis used to close a defect (tissue opening) mainly of the hard palate or contiguous alveolar structures. Prosthetic correction of such defects is often done with a surgical obturator, interim obturator, and definitive obturator.

Fabrication of Hollow Bulb Obturator:
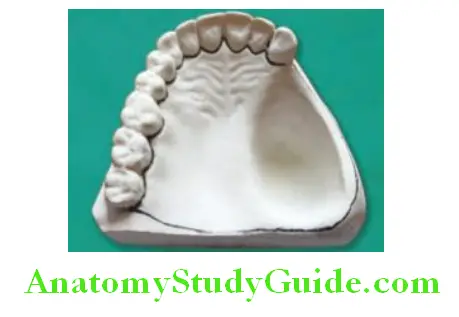
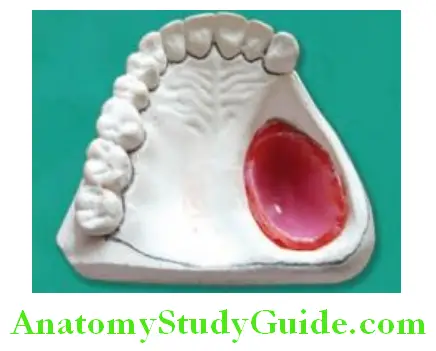
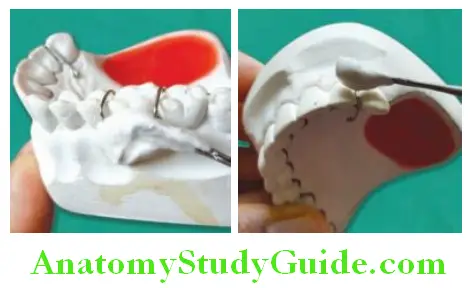
Observe the final cast for any pouring defects and correct it if any. Mark the outline for the obturator. Prepare a clasp for retention on two abutments that are widely separated from each other. Clasps are made on the molar and canine regions for retention. Mark tissue stops in the defect area of the cast.
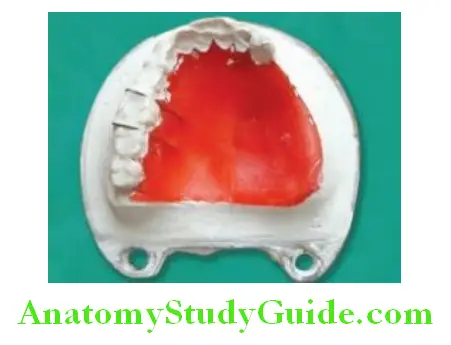
Adapt a sheet of modeling wax into the defect and cut the windows for tissue stops. Adapt a sheet of self-cure acrylic over the wax sheet to make the outer part of the bulb. This part of the bulb is covered with another sheet of acrylic resin to make it hollow. Once the self-cure resin is set, remove the bulb from the cast and examine that the resin
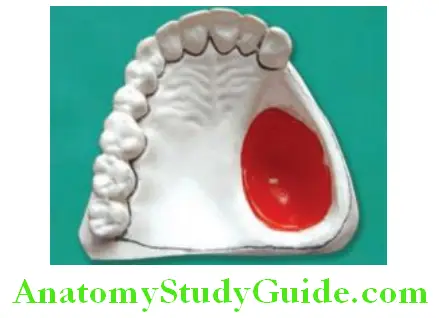
is in contact with the cast through all the tissue stop windows, and tissue stops are formed properly. Remove the wax sheet from the outer surface of the bulb and place the bulb in the cast.
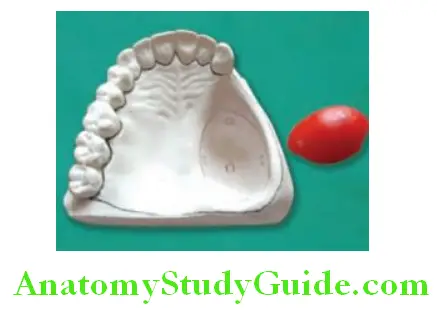
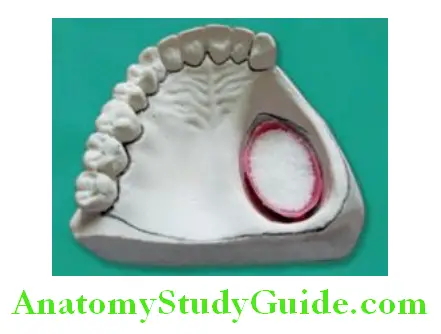
Check that all the tissue stops are in contact with the cast surface in the defect area. Only the tissue stops are in contact with the cast and other parts of the bulb maintain space between the cast and the outer surface of the bulb. Fill the salt in the bulb till the outer border of the bulb.
The salt should be tightly packed to support the closing sheet over the open bulb. Instead of salt, sugar crystals can also be used for the same purpose. Mix a small quantity of self-cure acrylic resin and make a small sheet of it. Place it over the salt-packed bulb to close the bulb.
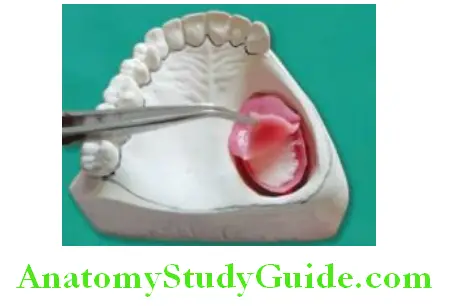
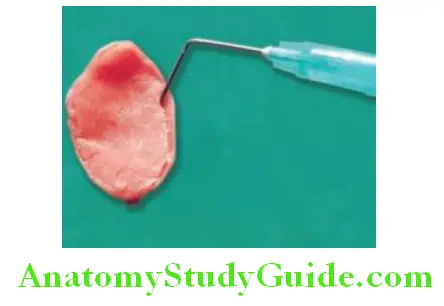
Apply material as needed and close the bulb from all the surfaces. Make one or two small holes on the surface of the bulb. Use the thin needle to insert water from one hole and let it come out from the other hole. Repeat this exercise till the full quantity of salt is melted and removed with water.
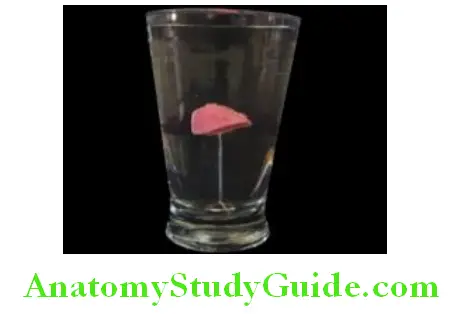
Once the salt is removed closed holes are made for the removal of salt using self-cure acrylic. Put the hollow bulb in a bowl or glass of water and check for hollowness.
Note: The hollow bulb is tied with floss and inserted in a glass full of water to check the hollowness; the hollow bulb is floating and not sinking in the water. This is because the bulb is hollow and air is entrapped in a hollow space which makes it lightweight and empty inside
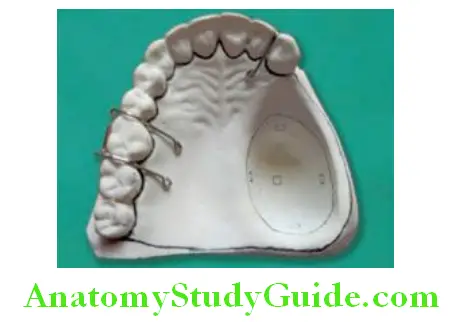
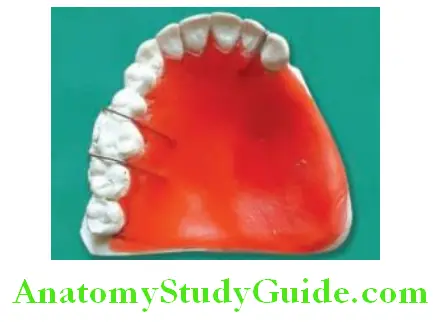
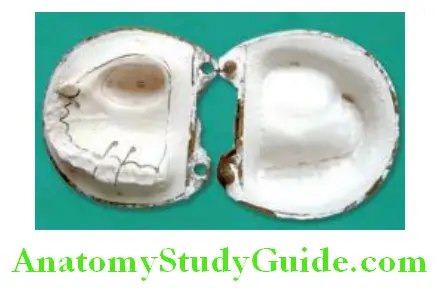
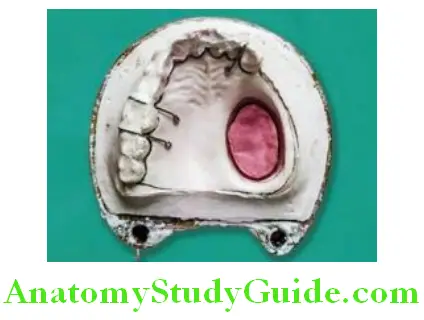
Place the clasps on the abutment and secure them on the cast using a small quantity of dental plaster. Cover the clasp with plaster to keep them in place during dewaxing and packing procedures. Remove the bulb from the defect area and fill the area with modeling wax. Put the clasp on the abutments and do the wax-up as shown in the photograph.
Make sure that wax is properly carved and inserted in the interdental area for additional retention. Teeth can be arranged if needed and according to the type of obturator. A conventional flasking procedure is followed for the flasking of the obturator. Follow the conventional dewaxing procedure and make sure that there is no trace of modeling wax left in the mold.
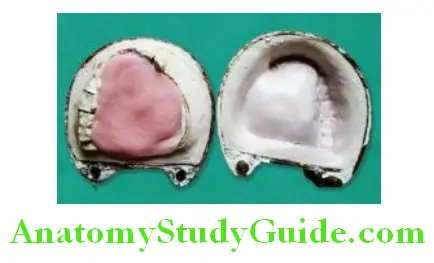
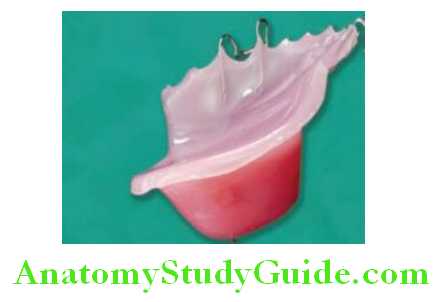
Place the hollow bulb in position and make sure that all tissue stops are in contact with the cast. Mix heat cure acrylic resin and pack for making an obturator. Cure it for a long curing cycle.
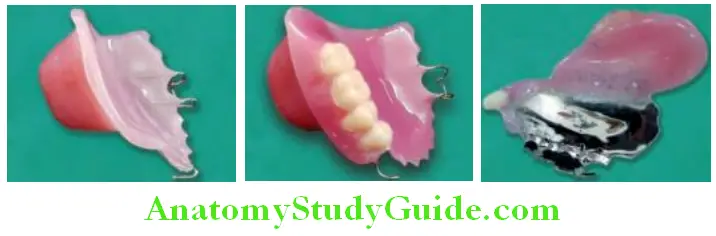
After curing, open the flask and retrieve the obturator. Trim the excess material if any. Do finish with sandpapers of different grit sizes. Polish it till it gets a shiny surface. The obturator is ready to use.
Leave a Reply