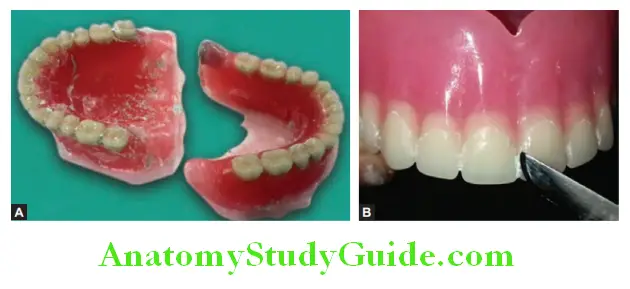
Finishing And Polishing Of Complete Denture Introduction
Finishing is the removal of gross surface roughness. It is usually done with laboratory bur, aluminum oxide acrylic trimmer, and sandpaper. Polishing is done to smoothen the surface and to give luster or polish to the surface.
Table of Contents
Finishing The Denture
Step 1:
Remove the mounting plaster from the denture surface. Take care while removing plaster from the impression surface. Sharp BP blade can be used to remove investing plaster/stone from interdental areas.
Read and Learn More: Preclinical Prosthodontics Notes
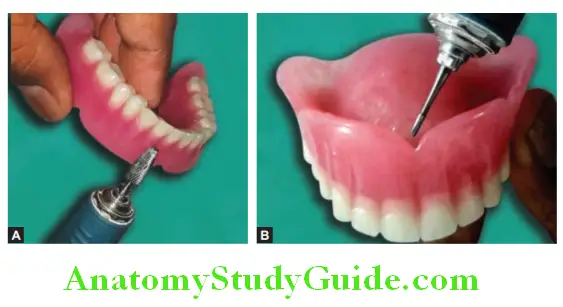
Step 2:
Use tungsten carbide laboratory bur mounted on a micromotor straight handpiece to trim excess material from the borders of dentures. Use fine tungsten carbide laboratory bur to finish the flanges. Do not apply excess pressure while finishing, it may cause indentation on the surface of denture flanges.
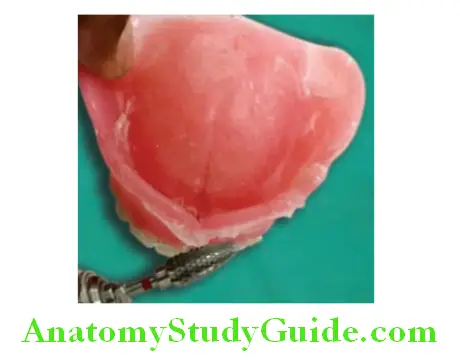
Step 3:
Use a straight fissure bur or small round bur to remove investing plaster from interdental areas. Make appropriate notches in frenum areas to relieve frenum. The notch for the labial frenum is long and narrow and notches for the lingual and buccal frenum are wider and shallow.
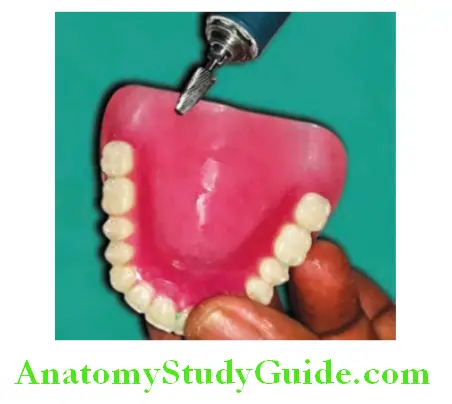
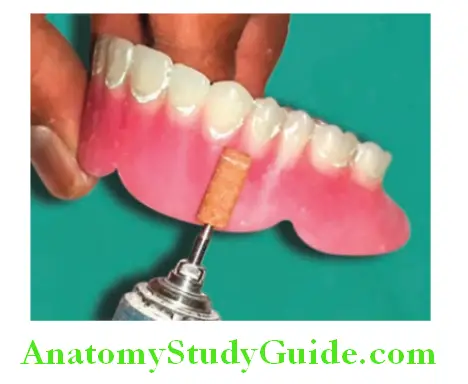
Step 4:
Smoothen the flanges and borders using the aluminum oxide-mounted acrylic trimmer. Take care of root morphology while trimming. Follow the contour of root bulges.
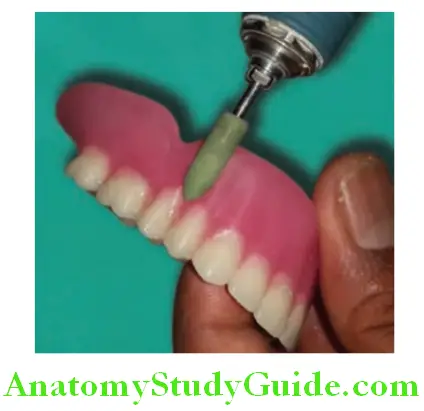
Step 5:
Use a rubber point mounted on a straight handpiece to remove scratches from the denture surface.
Step 6:
Use sand papers of various grit sizes to smoothen the polished surface of the denture. Start sandpapering with coarse sandpaper
(80–100 number) and finally use finer grit size (250–300 number). Wet the sandpaper with water and repeat the sandpapering again (wet sandpapering). At last, finishing is done with fine emery paper of 1,000–1,200 numbers. Sand papering can be done manually or using sandpaper mandrel.
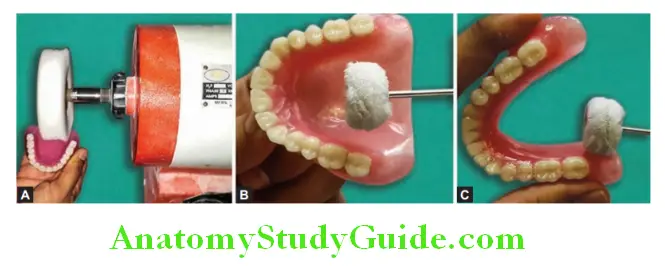
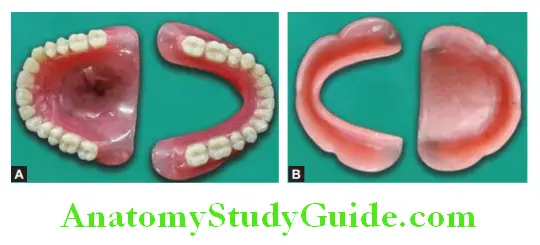
Polishing The Denture (Pumicing The Denture)
Polishing of dentures is done on flanges, borders, and on palate. Do not finish or polish the tissue surface of the denture. For polishing of dentures, a polishing buff and rag wheel are used according to the area to be polished. Pumice in the form of powder or cake is used as a polishing agent.


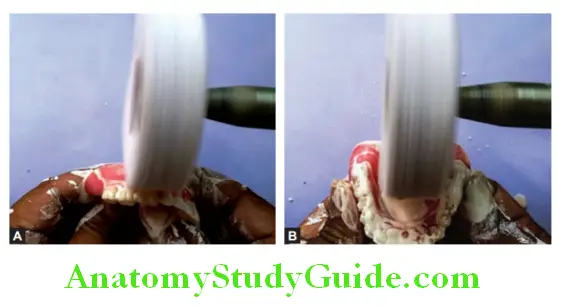
Step 1:
Add pumice powder to water to make a slurry. Use copious amounts of pumice slurry with a polishing buff to polish the denture. Polish the surface in various directions to give shine. Use appropriate pressure while polishing.
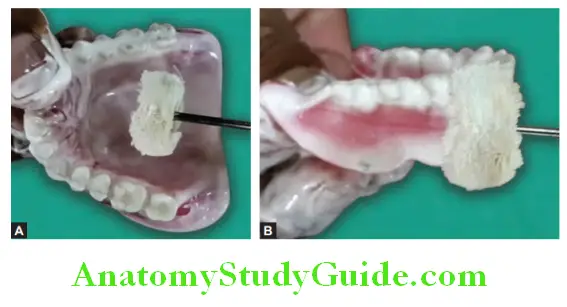
Step 2:
Use a laboratory motor-driven rag wheel to polish areas where polishing is not possible with a polishing buff. Use a rag wheel to polish the lingual flange of a mandibular denture and the palatal surface of the maxillary denture.
Wash the denture with clean water and dry it. Examine for scratches on the surface. If scratches are found, repeat the polishing with slurry. Use pumice cake with a polishing buff and rag wheel to give high polish to the denture. Examine for scratches if any.
Step 3:
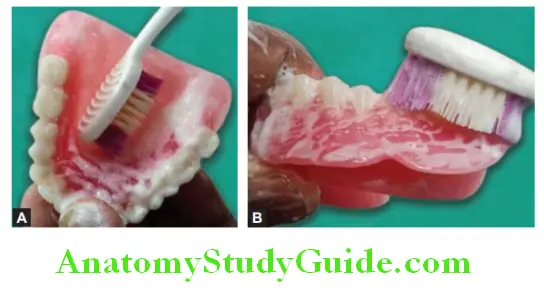
Lightly use clean cotton buff without pumice to give high luster to the denture. This will also remove pumice from the denture surface.
Step 4:
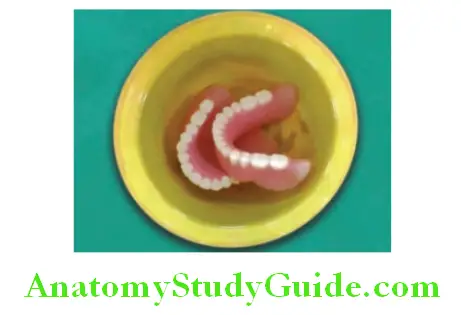
Use soap water and a soft bristle toothbrush to clean any residue of the polishing agent from the denture surface. Wash the denture with water. The polishing of the denture is completed. Store the denture in water.
Leave a Reply