Preparation Of Tissue Specimens For Histological Study
The study of tissues is called histology. The tissue once obtained needs to be prepared for examination under the microscope by the steps involved in tissue preparation.
Table of Contents
The preparation of tissues can be placed into either of the following categories:
- Processing of soft tissues
- Processing of hard tissues
- Ground sections
- Frozen sections
Read And Learn More: Oral Histology Notes
| Body Fluids | Muscle Physiology | Digestive System |
| Endocrinology | Face Anatomy | Neck Anatomy |
| Lower Limb | Upper Limb | Nervous System |
Processing Of Soft Tissues
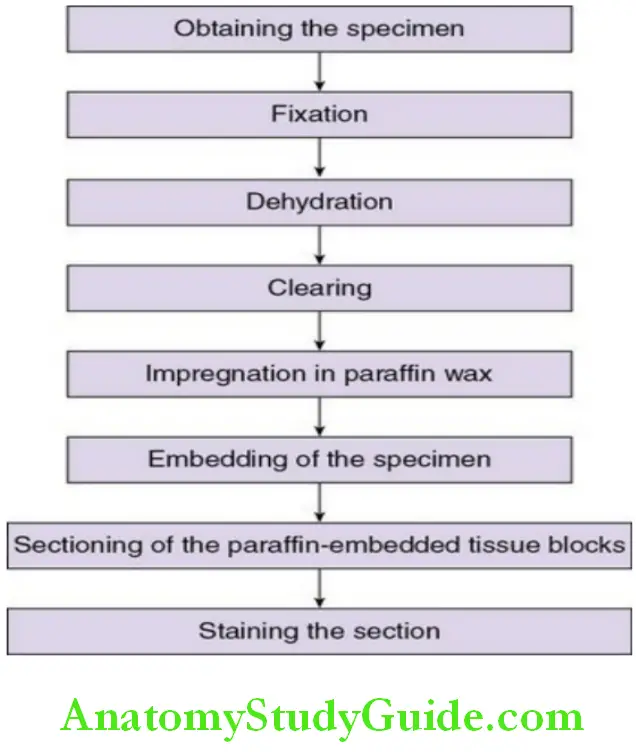
1. Obtaining the specimen:
A biopsy specimen is obtained from the lesion in the oral cavity.
The tissue specimen should be immediately fixed in a fixative.
2. Fixation:
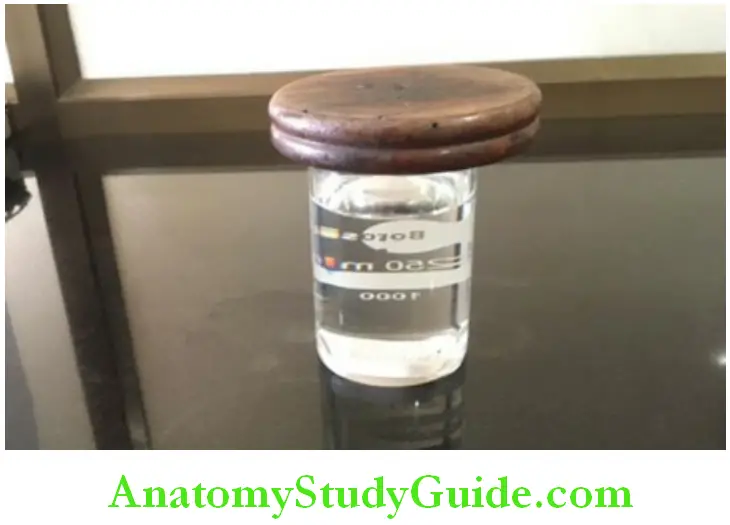
The specimen obtained must be placed in a fixative immediately to avoid autolysis and putrefaction.
- – The most common fixative used is 10% neutral buffered formalin (40% formaldehyde).
- – The duration that the tissue specimen should be fixed depends mainly on the size of the specimen. The minimum duration that a tissue specimen should be placed in a fixative is one day
- – After fixation, the tissue should be washed thoroughly in running tap water to prevent the deposition of formalin pigments in the tissues.
- – Formalin pigments can be removed by treating the tissue with picric alcohol or 1% alcoholic solution of sodium hydroxide.
Other fixatives are:
- Mercuric chloride
- Potassium dichromate acetone
- Glacial acetic acid
- Osmium tetroxide
Role of a fixative:
- – To prevent putrefaction by bacterial action and autolysis (enzyme action by rupture of lysosome)
- – To preserve cells and tissues in as life like manner as possible
- – To coagulate the proteins and reduce the alterations that could take place by subsequent treatment
- – To harden soft tissue for easier manipulation
- – Optical differentiation – causes variation of refractive indices of the cells and tissues and enables components to be more easily seen
3. Dehydration:
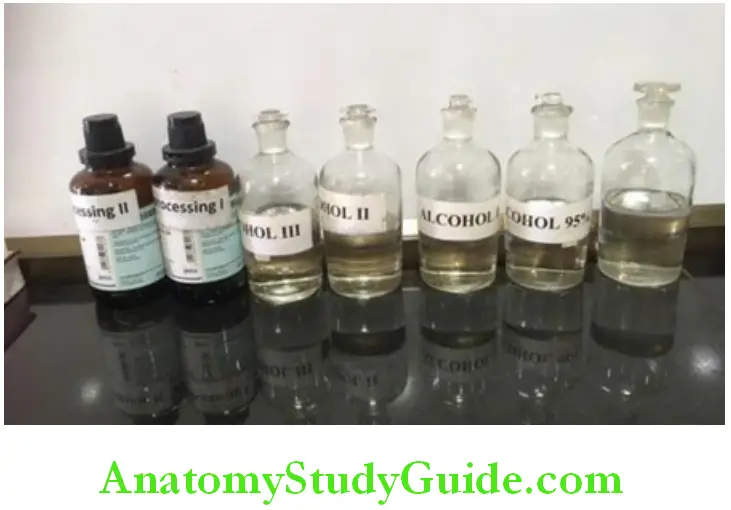
Tissues are placed in containers with increasing grades of alcohol – 40%, 60%, 80%, 90% and absolute alcohol for about an hour each but the time might also depend on the density and size of the specimen.
This is to remove the water content from the tissue specimen and allow penetration of paraffin.
4. Clearing of tissue:
Paraffin is not miscible, and hence the alcohol in the tissue specimens needs to be removed.
- – To remove the alcohol from the tissue sections, the specimen is placed in two changes of xylene for 45 minutes each.
- – The alcohol is removed and the specimen appears ‘clear’. This step is called clearing as the refractive index of the tissue is improved and it allows light to pass through and appears clear (if the tissues are placed in xylene for a longer duration of time, the tissue becomes brittle). Other clearing agents are
- Chloroform
- Benzene
- Cedar wood oil
5. Impregnation in paraffin wax:
- Tissues should be made miscible with paraffin wax. The tissue is then placed in a container with molten paraffin wax maintain at a temperature of about 60°c for 12–24 hours.
- The xylene in the tissues is replaced by paraffin.
6. Embedding of the specimen:
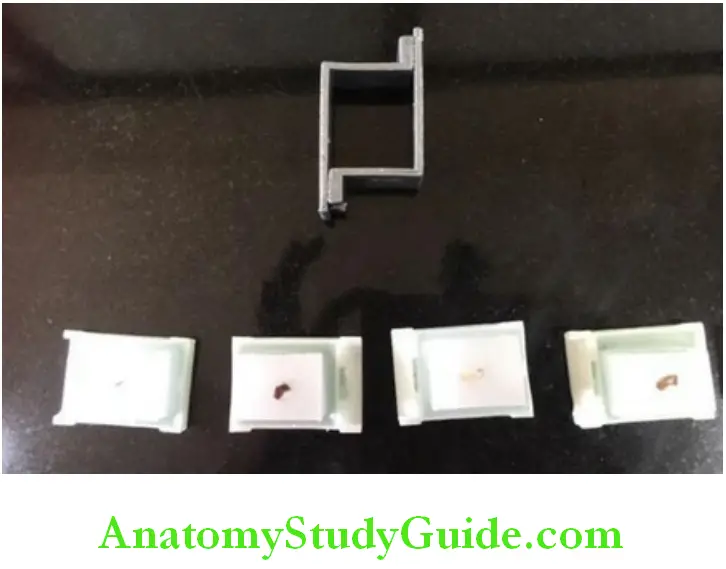
- The specimen which is completely infiltrated by paraffin is placed in the centre of a block of paraffin, using leukhart’s blocks or using embedding cassettes.
- The surface that needs to be sectioned must be placed towards the bottom of the block. The block containing the specimen is allowed to harden.
- The block is mounted onto a block holder.
7. Sectioning of the paraffin:
- A microtome is used to cut thin sections of 3–5 microns thickness of tissue.
- Meyer’s egg albumin is an adhesive used to mount the sections on a micro slide. Slides are then placed on a slide warmer, which is maintained at 48°c. The egg albumin coagulates and holds the tissue firmly onto the slide.
8. Staining of tissue sections:
- The routine stain that is used in histopathology is haematoxylin and eosin.
- – Haematoxylin stains the nucleus
- – eosin stains the cytoplasm
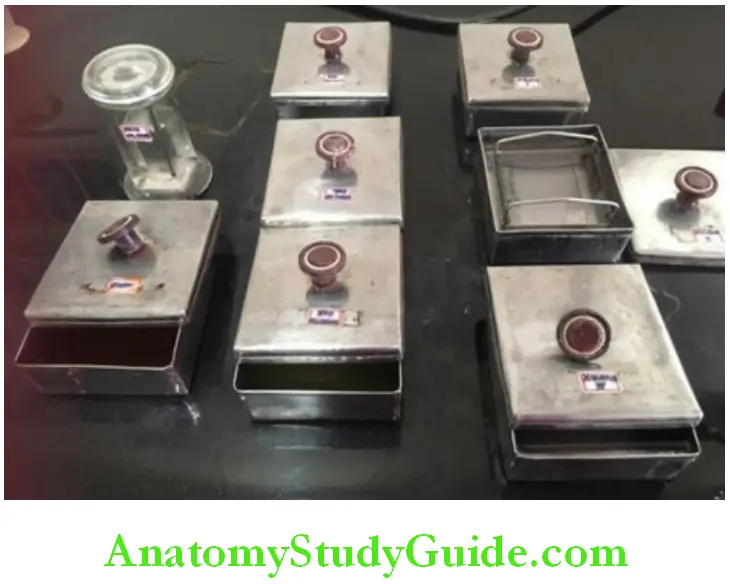
Procedure for staining: micro slides with the tissue sections are placed in the following reagents in a sequential manner
- Xylene for dewaxing
- Descending grades of alcohol for rehydration
- Water – wash
- Harris haematoxylin – nuclear stain
- Water+ lithium carbonate – bluing
- Acid alcohol – differentiation
- Eosin – counterstain
- Ascending grades of alcohol – dehydration
- Xylene – clearing
Sections are mounted with a coverslip using dibutylphthalate (dpx)
Processing Of Hard Tissues
The presence of calcium salts in tissues prevents the preparation of good sections by routine methods. The incomplete removal of these salts results in torn and ragged sections, and damage to the cutting edge of the microtome knife. The tissues that require decalcification are teeth and bone. Parlodion is used to embed the decalcified specimens rather than paraffin to obtain good sections.
The technique of decalcification includes:
- Selection of the tissue
- Fixation
- Decalcification
- Neutralization of acid
- Thorough washing of the tissue
1. Selection of the tissue:
- Teeth: a tooth specimen can be decalcified as a whole tooth. At times, the enamel can be trimmed using a bur.
- Bone: thin slices of bone can be obtained using a fine-toothed bone saw or a hacksaw. To ensure adequate fixation and complete removal of calcium, the bone slices should not exceed 4–5 mm in thickness.
2. Fixation:
- The specimen is rinsed in running water and placed in the fixative.
- As a routine, formalin is preferred but bone marrow is best fixed in zenker’s formol.
- The duration for fixation may last up to a week.
3. Decalcification:
The criteria for a good decalcifying agent are
- – Complete removal of calcium
- – Absence of damage to the tissues
- – Nonimpairment of subsequent staining techniques
- – Reasonable speed of decalcification
Decalcifying fluids:
1. 5% Nitric acid which is changed daily for about 8–10 days:
Decalcifying occurs rapidly, but the disadvantage is that a yellowish tinge is seen in the tissue sections.
2. Gooding and stewart’s fluid – 20% formol formic acid:
- – Composed of formic acid, formalin and distilled water.
- – It is a good decalcifying agent with reasonable speed and a minimum damage of tissue. The formaldehyde content gives the tissue some protection against damage by the acid.
- – Decalcification of a tooth is usually complete in 14–21 days
3. Other decalcifying agents:
- – Jenkins fluid
- – von ebner’s
- – fluids containing nitric acids
Determination of end point:
Tissues should not be exposed to decalcifying fluids for longer than is necessary. Some method is required to determine that decalcification is complete.
- – The most satisfactory method is the x-raying of the tissue.
- – Pin prick method
- – Chemical testing: in this method, 5 ml of the decalcifying fluid is neutralized with n2˙naoh and 1 ml of 5% sodium or ammonium oxalate is added to it. Turbidity of the fluid indicates the presence of calcium in the fluid. Absence of turbidity after a delay of 5 minutes indicates that the decalcifying fluid is free of calcium.
4. Neutralization of acids:
- Following decalcification, treating the hard tissues with an alkaline such as 5% lithium or sodium sulphate for a night is necessary to neutralize them. Failure to do this is said to cause swelling of the tissues.
5. Washing of the tissue:
- Thorough washing of the tissue is essential before processing to remove the acid, which would otherwise interfere with the staining reaction. Washing should be carried out 3–4 hours in alcohol or overnight in water.
6. Infiltration by parlodion:
- The specimen is placed in 2% parlodion for a periods of 2 to 4 weeks.
- It is then transferred and passed through increasing concentrations of parlodion of 4%, 6%, 10% and 12%.
7. Embedding in parlodion:
- The specimen is embedded in the centre of the block of parlodion once infiltration of parlodion is complete. Hardening of parlodion takes about 2–3 weeks.
- The block once firm is stored in chloroform until it sinks and then run through changes of 70% alcohol to get rid of the chloroform.
- Blocks are stored in 70% alcohol for further hardening of parlodion.
- They may be stored in a mixture of 70% alcohol and glycerine for longterm preservation.
8. Sectioning:
- The sections prepared must be placed in 70% alcohol to prevent drying.
9. Staining:
- The sections are mounted onto the slide and then stained in haematoxylin and eosin.
Other methods of decalcification:
Chelating agents:
- Chelating agents such as ethylene diamine tetraacetic acid can be used.
- Tissues decalcified by this method show a minimum of artefacts and may subsequently be stained by most techniques with good results.
Uses of ion exchange resins:
- Ion-exchange resins in decalcifying fluids are used to remove calcium ions from the fluid, thus ensuring a more rapid rate of solubility of calcium from tissue, and a reduction in the time of decalcification.
- The resin used is an ammonium form of a sulphonated polystyrene resin. This is layered at the bottom of the container to a depth of approximately half an inch.
- The specimen is allowed to rest on it. The volume of decalcifying fluid that is equivalent of 20–30 times bulk of the specimen is added to the container.
- The use of decalcifying fluids containing mineral acids: formic acid along with this resin gives good results.
- After use, the resin is regenerated by washing twice with dilute (n/10) hcl acid, followed by three washes in distilled water.
- This procedure allows the resin to be used over a very long period. X-rays must be used to determine the end point of decalcification.
Electrophoretic decalcification:
- Electrophoretic decalcification is based theoretically on the attraction of calcium ions to a negative electrode.
- A considerable decrease in the length of time required for decalcification may be achieved by this method.
- A 6-volt dc supply is required. The electrolyte used is equal parts of 8% hydrochloric acid and 10% formic acid.
- This is placed in a glass museum jar or dish.
- In this method, the positive electrode is wound around the specimen with the coils not more than 4 mm apart.
- When the wire is removed following complete decalcification, it will be found to have burnt the tissue with which it was in contact.
- This may be overcome by using close fitting electrodes with brass plate on each side of a square or rectangular flat dish, and laying the tissue to be decalcified between them without being in contact with either.
- Speed of decalcification may increase by moving the electrodes closer together, or decreased by moving the electrodes farther apart.
- Decalcification should be checked by x-rays every 2–3 hours.
- Eg: a 5mm cross-section of human rib will be decalcified in 6–8 hours.
Ground Sections
- Ground sections of teeth or bone can be prepared. The tooth should be kept in hydrogen peroxide following extraction or in 10% formalin until used.
Coarse trimming of the hard tissue is done using a laboratory lathe.
Fine trimming is done using an arkansas stone with coarse and fine abrasive. - Hard tissues will become brittle, so the thin ground sections are preserved in xylene and later mounted using canada balsam.
- Hard tissue microtomes can be used to prepare ground sections.
Frozen Sections
- It is used for rapid diagnosis.
- Permits study of tissue lost during conventional processing methods such as lipids.
- Used to demonstrate labile substances such as enzymes and target molecules for immunohistochemical studies.
- Tissues are fixed in 10% formalin. The tissues are embedded in a tissue freezing media.
Preparation Of Tissue Specimens For Histological Study Synopsis
- The study of tissues is called histology. The tissue once obtained need to be prepared for examination under the microscope.
- The preparation of tissues can be placed into either of the following categories:
- Processing of soft tissues
- Processing of hard tissues
- Ground sections
- Frozen sections
- The steps in processing of soft tissues are obtaining the specimen, fixation, dehydration, clearing, impregnation, embedding, sectioning and staining.
- The specimen obtained must be placed in a fixative to avoid autolysis and putrefaction.
- Most common fixative used is 10% neutral, buffered formalin (40% formaldehyde).
- The duration that the tissue specimen should be fixed depends mainly on the size of the specimen.
- For dehydration tissues are placed in containers with increasing grades of alcohol, i.e. 40%,60%, 80%, 90%, And absolute alcohol to remove the water content from the tissue specimen and allow penetration of paraffin.
- Clearing of tissue is done to remove the alcohol so the specimen appears ‘clear’.
- This step is called clearing as the refractive index of the tissue is improved and it allows light to pass through and appears clear.
- Impregnation in paraffin wax is done so that xylene in the tissues is replaced by paraffin.
- Embedding of the specimen is by placing the specimen in paraffin blocks so that it is completely infiltrated by paraffin using, leukhart’s blocks or using embedding cassettes.
- Sectioning of the paraffin block is by using a microtome to cut thin sections of 3–5 microns thickness which are mounted onto micro slides.
- Staining of tissue sections is by using the haematoxylin and eosin stain.
- Haematoxylin stains the nucleus and eosin stains the cytoplasm.
- Sections are mounted with a coverslip using dpx.
- Processing of hard tissues: the presence of calcium salts in tissue prevents the preparation of good sections by routine methods.
- The incomplete removal of these salts results in torn and ragged sections and damage to the cutting edge of microtome knife.
- The tissues that require decalcification are teeth and bone. Parlodion is used to embed the decalcified specimens rather than paraffin to obtain good sections.
- Ground sections of teeth or bone can be prepared. The tooth should be kept in hydrogen peroxide following extraction or in 10% formalin until used.
- Coarse trimming of the hard tissue is done using a laboratory lathe.
- Fine trimming is done using an arkansas stone with coarse and fine abrasive.
- Hard tissues will become brittle, so the thin ground sections are preserved in xylene and later mounted using canada balsam.
- Hard tissue microtomes can be used to prepare ground sections.
- Frozen sections are used for rapid diagnosis and permit study of tissue that are lost during conventional processing methods such as lipids.
- The tissue block is frozen with liquid or solid carbon dioxide and cut using a freezing microtome after embedding in gelatin and then immersing in 10% formalin.
Leave a Reply