Pouring Making of Dental Cast Introduction
Dental cast serve as replica of denture foundation in absence of patient. Dental cast is made by pouring suitable gypsum product in impression. The present chapter inform about available methods for making dental casts.
Table of Contents
Methods Of Making Cast
- Inversion method
- Beading-boxing method
- Plaster pumice method.
Here, most widely used two methods, i.e. inversion method for pouring primary impression and beading-boxing method for pouring final impressions are discussed in detail.
Read and Learn More: Preclinical Prosthodontics Notes
Making Primary Cast by Inversion Method:
This method is mainly used for making diagnostic and primary cast.
This method involves three phases namely:
- Pouring the impression
- Retrieval of the cast
- Finishing of the cast. This method is also known as “two stage pouring method”.
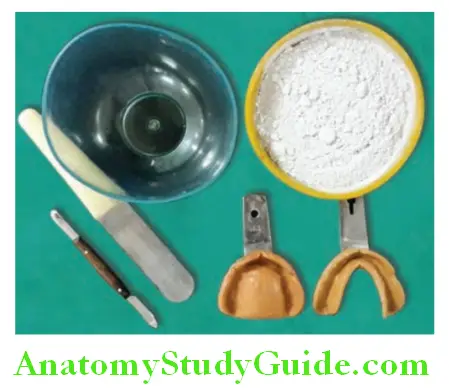
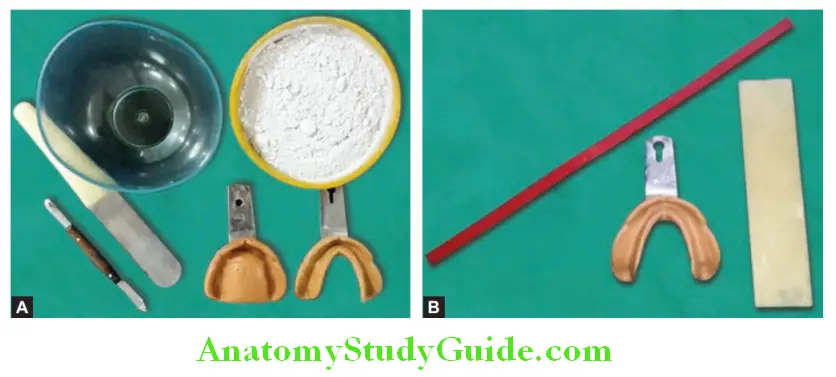
Armamentarium used for this procedure are:
- Primary impression
- Large rubber bowl
- Dental plaster
- Plaster spatula
- Porcelain tile
- Plaster knife
- Warm water (55–60°C temperature)
- Sandpaper.
Pouring of Impression:
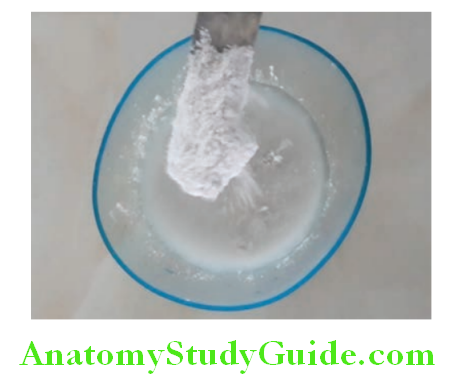
Step 1:
Impression made of edentulous cast is rinsed with water and disinfectant. Measured quantity of water is taken in rubber bowl. Weighed quantity of dental plaster (according to recommended water powder ratio by the manufacturer) is sifted in water. This is spatulated to form a creamy mix.
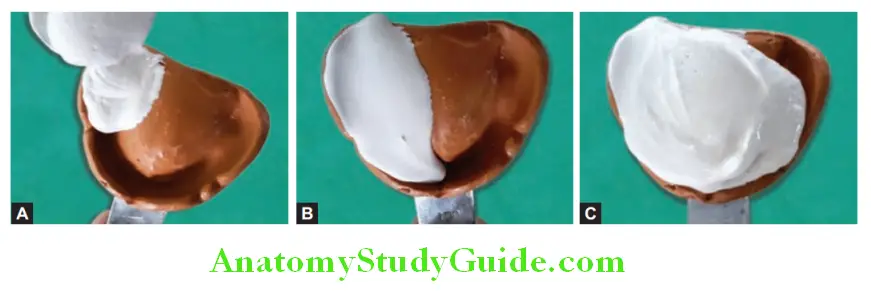
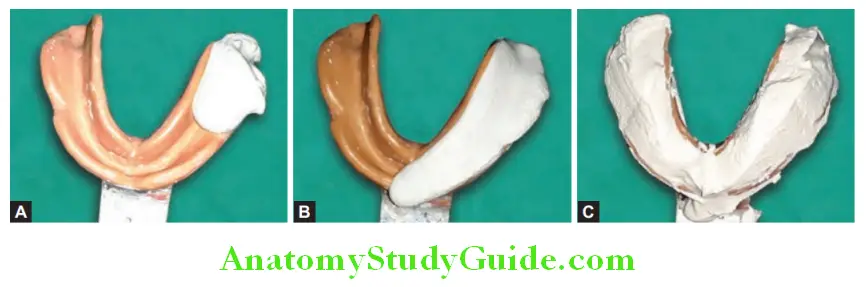
Step 2:
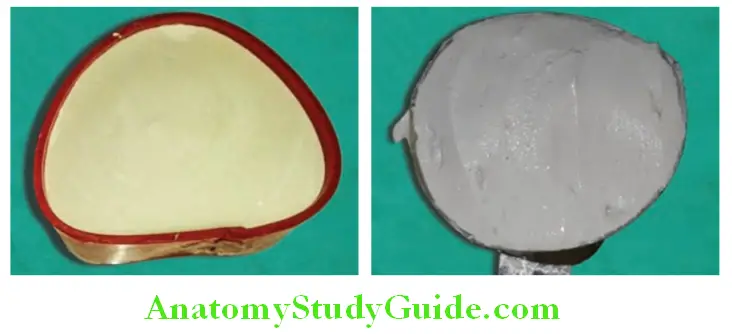
Put some quantity of this mix in one corner of impression and allow it to flow till the other corner by vibrating/tapping the impression. This will avoid incorporation of air bubble while pouring. Cover the impression completely.
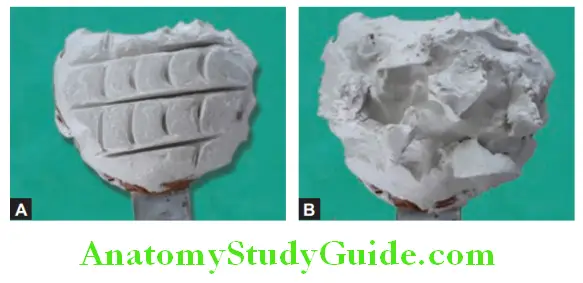
Step 3:
Make some serrations as shown in create undercuts or place some plaster blebs. This helps in mechanical union between first pour and second pour. The base of the cast is made after the initial set of the first pour.
Step 4:
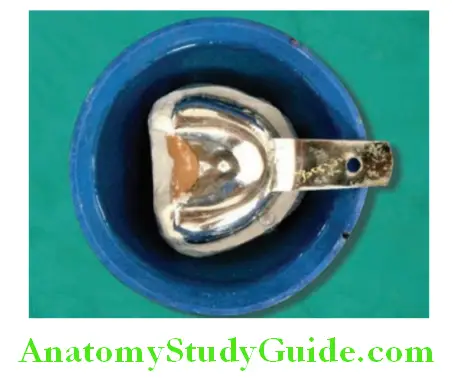
Rest of creamy mix is placed on the porcelain tile and roughly given the shape of base of the cast and impression is inverted over it.
Step 5:
Allow initial set to take place. Plaster is shaped according to desired form of cast base using plaster knife. Excess material is removed beyond the borders of impression. Allow the material to set completely. In case of mandibular impression, remove plaster from tongue spacem till the stock tray borders. Impression borders should not be covered more than 2–3 mm. Covering tray border in excess results in fracture of land area while retrieval of the cast.
Retrieval of Cast:
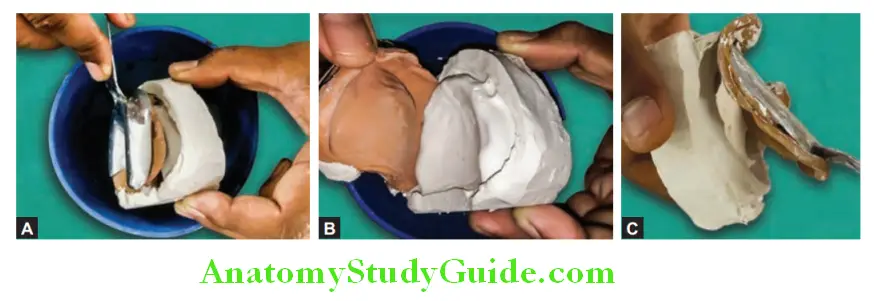
Step 1:
After the plaster is set completely, the poured impression with base is placed in large rubber bowl with hot water having temperature of 55–60°C.
Step 2:
Compound is allowed to soften in hot water and cast is retrieved slowly.
Step 3:
The cast should be checked for anatomical details. Any air bubble or nodule should be eliminated or corrected to obtain a clean cast.
Finishing of the Cast:
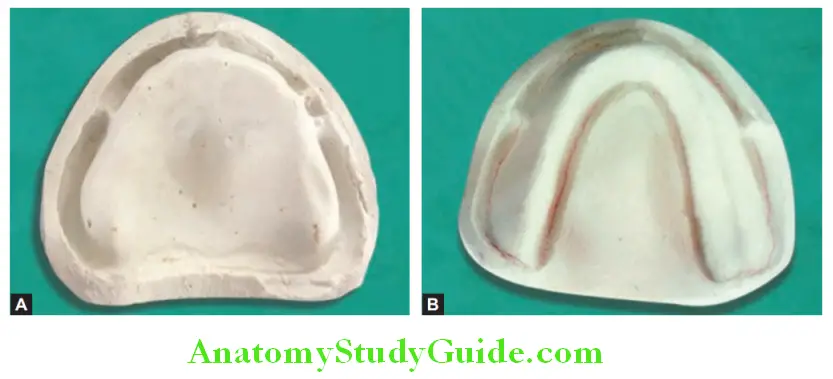
Step 1:
Sulcus depth is marked using red pencil. The posterior end of the maxillary cast is marked from the depth of hamular notch on one side to hamular notch on other side. The posterior end of mandibular cast is marked beyond the retromolar pad of both the sides.
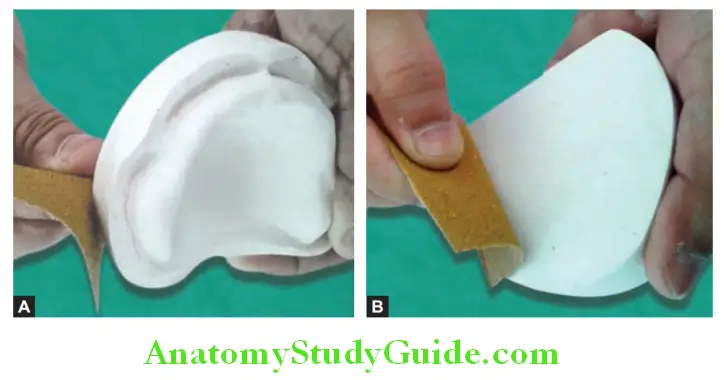
Step 2:
The cast is trimmed using a plaster knife in such a way that the land area of the cast is 3 mm high and 3 mm wide. It slopes downward and outward by 45° or should be straight. The base of the cast is 15 mm thick. The base of cast is smoothened using sand paper. Do not alter the anatomical area of the cast with sand paper or by any means.
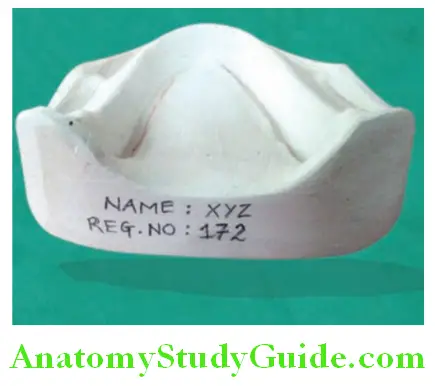
Step 3:
Label the cast with your name and registration or roll number on its side. (On patients’ cast OPD number and patient name is written).
Pouring Cast by Beading-Boxing Method:
The final impression is made for recording of fine details with precision. The final cast is made with beading-boxing method. This method gives more precise cast that needs no or minimum corrections after retrieval. In this method, one can control or predetermine the thickness of base by adjusting the height of boxing wax.
Instruments and Material:
- Maxillary and mandibular impressions
- Rubber bowl
- Plaster spatula
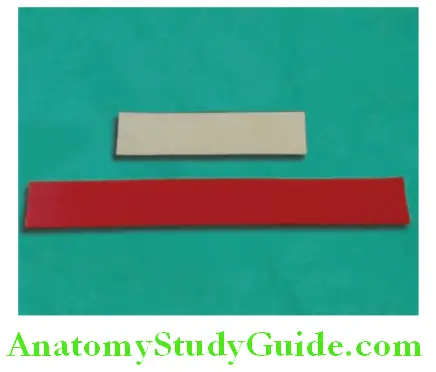
- Beading wax
- Boxing wax
- Dental stone
- Sand paper.
Beading wax is available in square or round shapes and in various colors. Boxing wax is available in various colors and lengths.
Procedure:
Step 1:
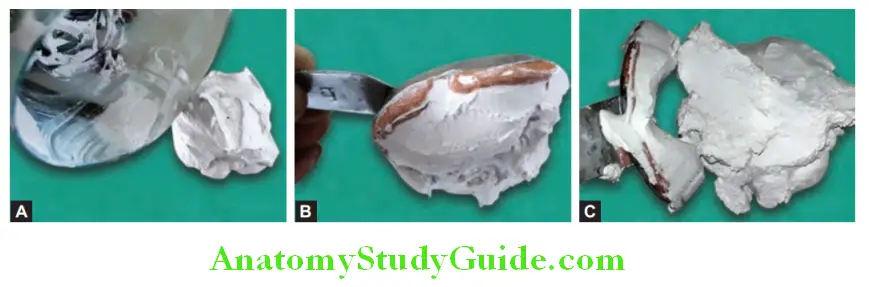
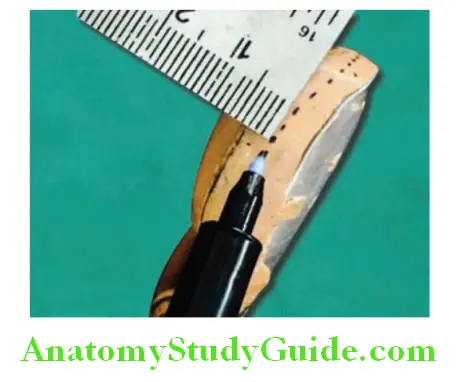
Wash final impression and disinfect it. Place markings 2–3 mm away from the impression borders as shown.
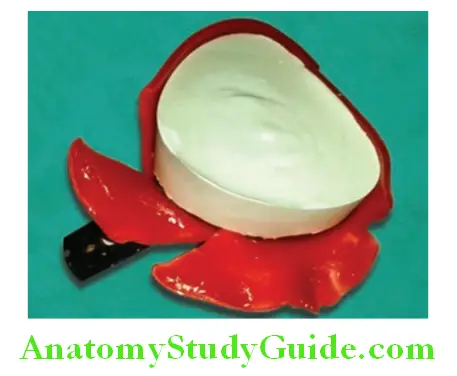
Step 2:
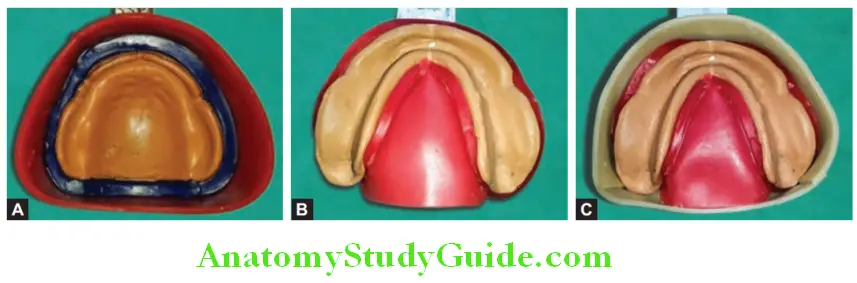
Beading wax is placed 3 mm below the sulcus extension (borders) of impression. It is sealed with hot wax spatula to bead the impression. Placement of beading wax 2–3 mm below the impression borders forms height of land area on cast. The thickness of beading wax ensures thickness of land area on the cast. It should be 3 mm.
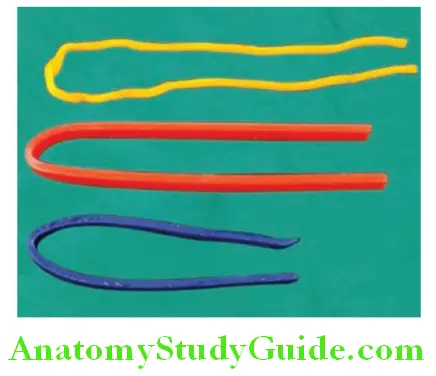
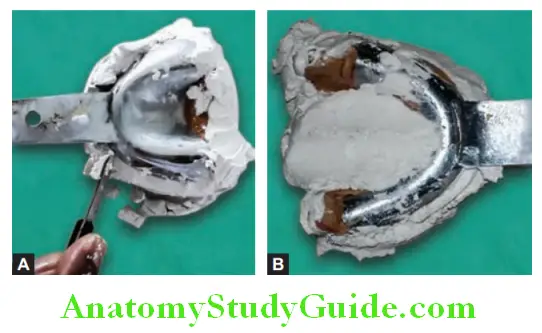
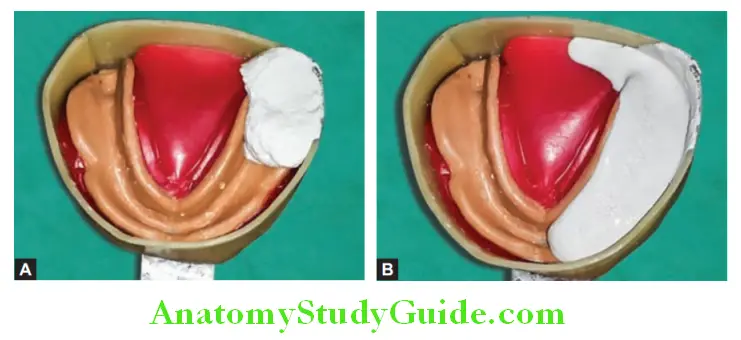
Step 3: Boxing wax is sealed to the beading wax such that the impression is boxed in. Height of boxing wax provides thickness of base of the cast.
Note: In case of mandibular impression, a tongue-shaped modeling wax is placed in tongue space after beading to create tongue space in cast.
Step 4:
Pour some water in boxed in impression to ensure that it is sealed perfectly. This ensures perfect sealing of beading and boxing wax and there is no seepage from where plaster can flow out. 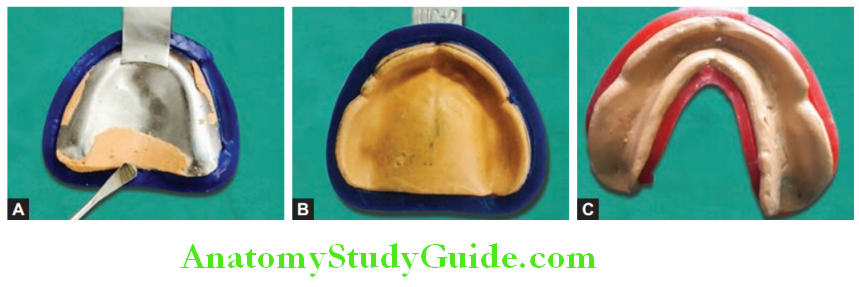
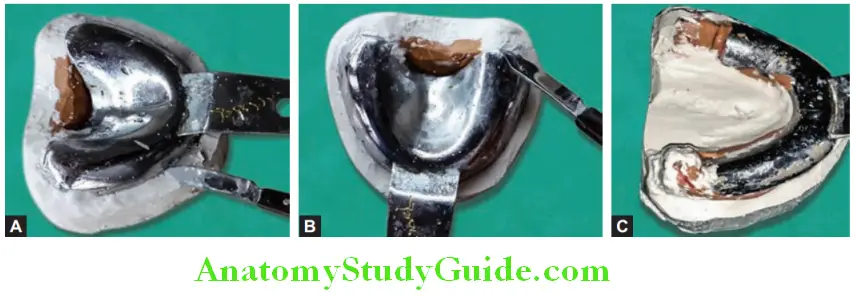
according to manufacturer recommended water-powder ratio. Mix should have creamy consistency. For pouring maxillary impression, small quantity of creamy mix of dental stone/plaster is placed in center of palate and it is allowed to flow toward the periphery by putting the boxed impression on vibrator or by tapping the impression. Plaster/stone is added in small increments till the boxed impression is completely covered till the height of boxing wax.
For pouring mandibular impression, dental stone/plaster is placed on retromolar area and impression is either tapped or placed on vibrator to make plaster flow till the other end. Plaster/stone is added in small increments till the boxed impression is completely covered up to height of boxing wax.
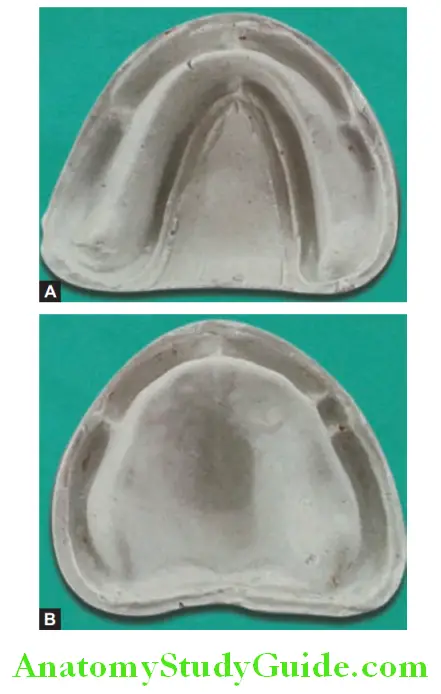
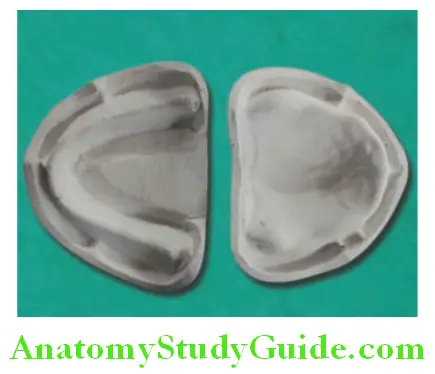
Step 5: Once dental stone/plaster sets completely, beading and boxing wax are removed. Put it in hot water to remove impression compound. Cast is finished and smoothen as required. Sand paper is used to smooth the base of the cast. Casts poured by beading–boxing methods.
Leave a Reply